

Pre-sales customer service WeChat


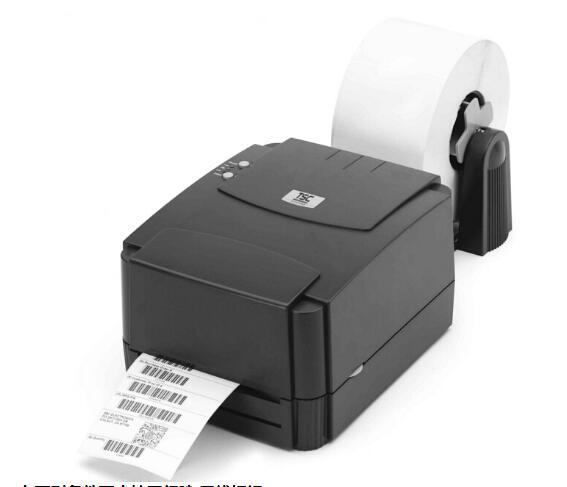
How does TSC TTP-245 PLUS barcode machine print paper
Release Time:2017-06-08
TSC TTP-245 PLUS bar code machine printing paper is mainly divided into two modes, one is black mark sensor measuring paper, the other is gap sensor measuring paper. In the shutdown state, press and hold the FEED key (paper feed key) and do not let go. Then when the machine is turned on, a series of lights will flash. Each type will be displayed for 5 times. When the green orange flashes alternately for 5 times, the black mark measuring paper will be let go, when the red orange flashes alternately 5 times, it is the gap measuring paper to let go.
This measurement is used to determine the sensitivity of the label paper sensor after the printer is turned on. When the user changes the paper roll of the same specification or initializes the printer to restore its set value to the factory set value, it is necessary to re-measure the label paper gap sensor. The detection gap or black line mark correction is based on the last quality you set. The default value for the TSC TTP-245 sequence printer sensor is set to gap correction.
1. calibrate the sensor conditions, calibrate the gap/black line markings under the following conditions:
1. Brand new printer
2. Change label material
3. After the printer is initialized
2. selection and calibration of black mark sensor
This measurement uses the black mark sensor to detect the paper.
1. Turn off the power.
2. Press and hold the paper feed key and turn on the power. The power LED will cycle in the following colors
Indicator color cycle pattern:
Orange-> Red (flashes 5 times) -> Orange (flashes 5 times) -> Color (flashes 5 times) -> Orange (flashes 5 times alternately) -> Red-Orange (flashes 5 times alternately) -> Green (fixed)
3. When the power indicator light flashes orange alternately, release the paper feed key. At this time, the printer will correct the black line mark sensor, and finally the power indicator light will be green ready.
3. Gap Sensor Calibration
Follow these steps to get the sensor to calibrate the roll paper:
1. Please confirm that the label paper has been properly installed
2. Turn the printer power off
3. Press and hold the paper feed key to turn on the printer power supply
4. When the indicator light flashes orange after the first orange, release the paper feed key.
Indicator color cycle mode: Orange-> Red (flashes 5 times) -> Orange (flashes 5 times) -> Green (flashes 5 times) -> Green-Orange (flashes 5 times alternately) -> Red-Orange (flashes 5 times alternately) -> Green (fixed)
5. The sensor will correct the label paper, print out the self-test value, and finally enter the debugging mode and print out the value.
6. Please switch on and off again to return the printer to the normal printing state
Focus on us
Official Account
Pre Sales
After Sales
National Service Hotline
Complaint suggestion:+86 13530144755
Enterprise E-mail:wanglili@xingyongli.com
Links:Shenzhen Hongxing Yongli Electronic Technology Co., Ltd.(Apply for friend chain plus QQ:2355671558)
©2024 Shenzhen Hongxing Yongli Electronic Technology Co., Ltd Powered by www.300.cn